World
This article goes through how to use the World library to create a topdown or isometric world.
Overview
The World library is split into two main parts:
- Core functionality, focused on flexibility and reuse
- Prefabricated content, focused on easy of use
This article will focus on the prefab content, but include enough core details to be able to take full advantage of the library.
The worlds created using this library are divided into descrete spaces, usually a square grid. So positions will be based on integer coordinates.
The prefabricated content supports both topdown and isometric perspectives, and it is very easy to switch between the two as needed. Additional perspectives are possible, but not supported by the prefab content.
Easiest way to get started is to pick up one of the templates at the end of the article, and then jump to relevant sections as questions come up.
Note
All classes on this page need to be imported from lib.world, unless otherwise specified.
Setup
To use the prefab content you will have to use the WorldSetup class.
The following sections will assume that you have an instance of this class called setup.
To start, just create the setup object like this setup = WorldSetup().
The class has the following attributes:
directions-list[tuple[int, int]]- The allowed movement directions, see directions, defaults to
CARDINAL_DIRECTIONS basic-bool- If
Truewill draw colored geometric shapes rather than the image-based tiles and walls perspective-"topdown" | "isometric"- The perspective to use for the prefab content, defautls to
"topdown" resolution-int- The "unit size", the size of a tile in topdown, will be used for all content
block_corners-bool- If
Truewill block diagonal movement next to a wall, should generally be enabled when usingSQUARE_DIRECTIONS debug_mode-bool- If
Trueadds additional debugging features to the world element, see debugging manager-PrefabManager- The object responsible for managing prefabricated assets, generally no need to override the default value
Creating the setup object
1 2 3 4 5 | |
Directions
You can specify which directions exist in the world, which will affect how actors can move.
By default only the cardinal directions exist:
Cardinal.LEFT= (-1, 0)Cardinal.RIGHT= (1, 0)Cardinal.UP= (0, -1)Cardinal.DOWN= (0, 1)
But these can be extended with diagonals:
Ordinal.LEFT_UP= (-1, -1)Ordinal.RIGHT_UP= (1, -1)Ordinal.LEFT_DOWN= (-1, 1)Ordinal.RIGHT_DOWN= (1, 1)
For convenience, the following direction list constants are available:
CARDINAL_DIRECTIONSORDINAL_DIRECTIONSSQUARE_DIRECTIONS
You can specify any other set of directions you want, but it will seldom make sense to do so.
World
To create the world itself you can use world = setup.create_world().
This section will not go into detail of how the World object works, that will be covered throughout this article.
Rendering
The world library can be used without rendering, but generally you do want to show the results.
When using the library you will initialize and make changes to the world in the setup_state and update_state methods.
Then you will want to render and re-render the world in the setup_canvas/setup_view and update_canvas/update_view methods.
When doing the initial render you can choose how the rendered element will behave:
- Use
world.render_resizable()to get an element which dynamically scales the world to fit within the size of the element. Recommended for smaller worlds. - Use
world.render_scrollable()to get a scroll area containing the world. The size of the world is based on theresolution. Recommended for larger worlds.
No matter which way you create the initial element, you need to call world.render_changes() when you want the world to be re-rendered.
No need to do anything else.
See the templates section for examples of how to do this in practice.
Tiles
Worlds consist mainly of tiles, which are used to both define the walkable area of the world and the visual tiles the world consist of.
The library comes with prefabricated graphical tiles and has built-in support for plain colored tiles, but it is also possible to make custom tiles.
There are a few ways to add tiles to the world, which to use is partly up to need and partly up to preference.
First way is to include a tiles argument to setup.create_world().
This can take the form of a dictionary with coordinates as keys and tiles as values.
Add tiles using a dictionary
1 2 3 4 5 | |
Alternatively the tiles argument can be a string as described in tile map
Add tiles using a string
1 | |
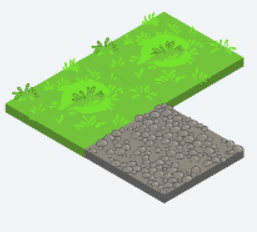
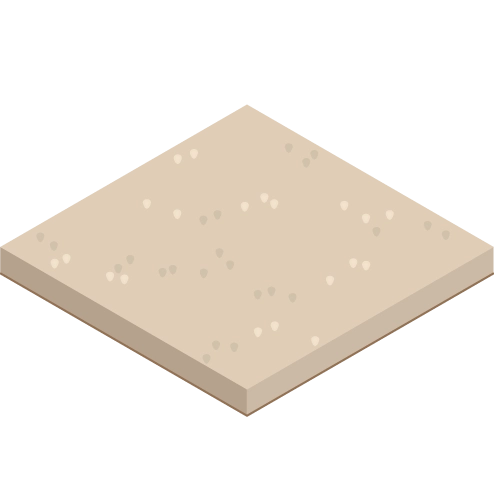
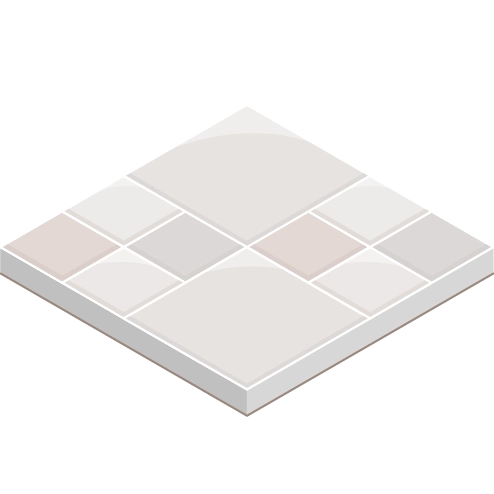
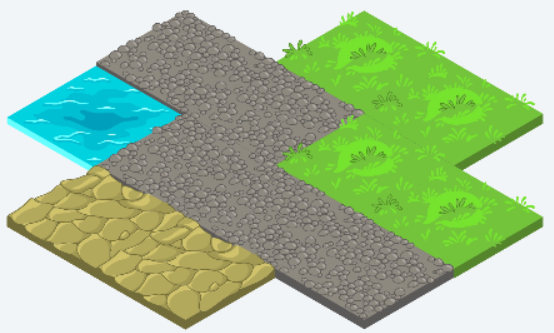
Both the examples above result in a world that looks like this:
Second way is to use the World methods:
world.add_tile(coordinate, data)- Where
datadepends on what types of tiles you are using -
Add single tile
1world.add_tile((1, 1), {"name": "grass"}) -
Or if using basic tiles:
-
Add single basic tile
1world.add_tile((1, 1), {"color": "black"}) world.fill(top_left, bottom_right, data)- Which will add the same tile to the area spanned by
top_leftandbottom_right -
Fill area with tiles
1world.fill((0, 0), (1, 1), {"name": "mud", "color": "tan"})
It is possible to get tile data for a coordinate using world.get_tile_data(coordinate), and it is possible to get all tile coordinates using world.get_tile_coordinates().
You can remove a tile using world.remove_tile(coordinate).
Prefab tiles
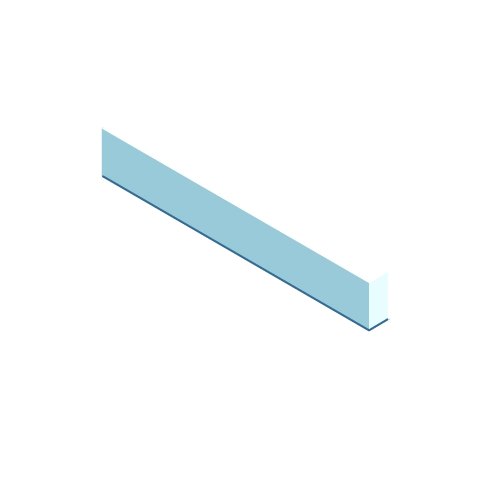
| Constant | Name | Code | Notes | Top down | Isometric |
|---|---|---|---|---|---|
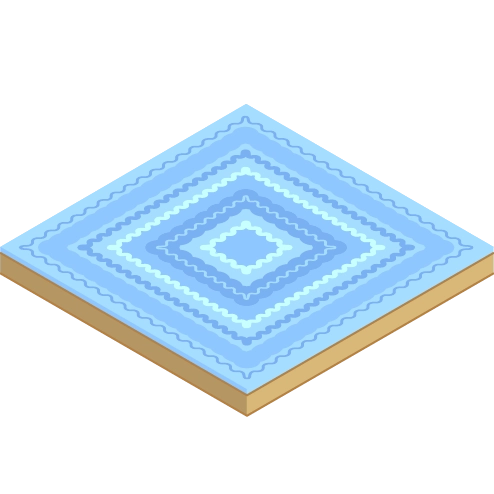
| Tile.BLOCKED | blocked | b | blocking | 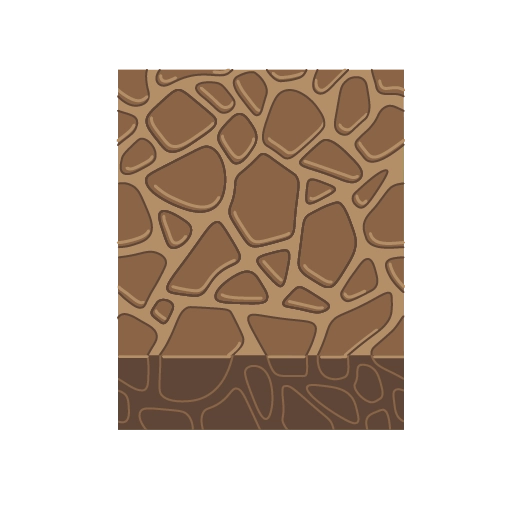 |
 |
| Tile.CARPET | carpet | c | 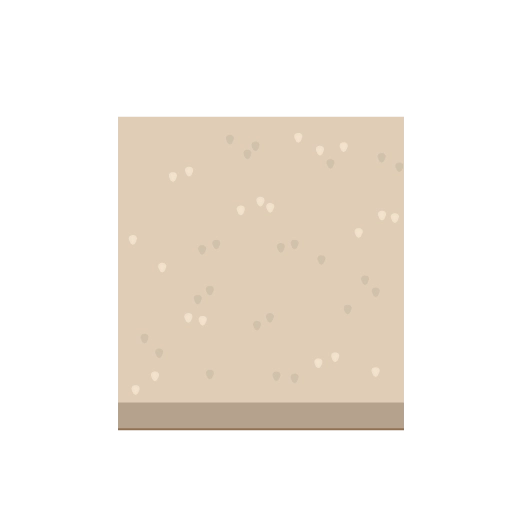 |
 |
|
| Tile.CARPET_BLUE | carpet_blue | k | 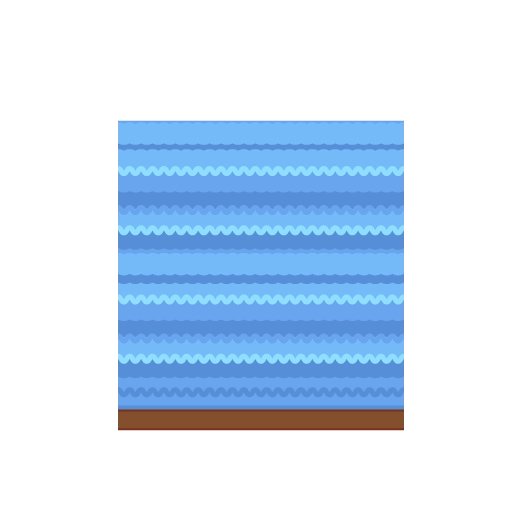 |
 |
|
| Tile.CARPET_BLUE_2 | carpet_blue_2 | K | 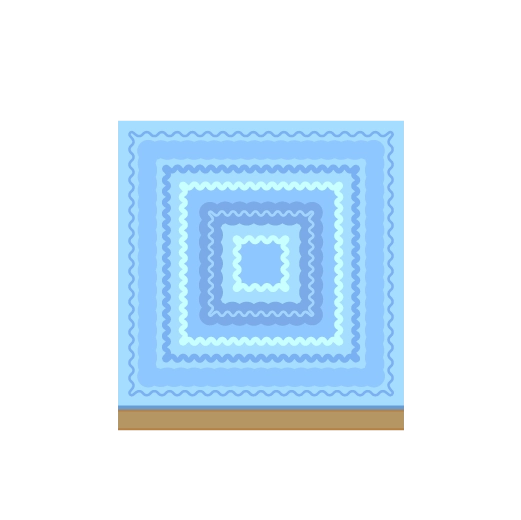 |
 |
|
| Tile.CARPET_GREY | carpet_grey | C | 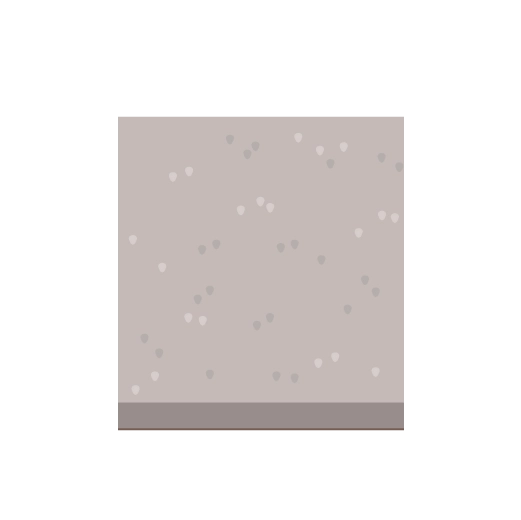 |
 |
|
| Tile.GRASS | grass | g | 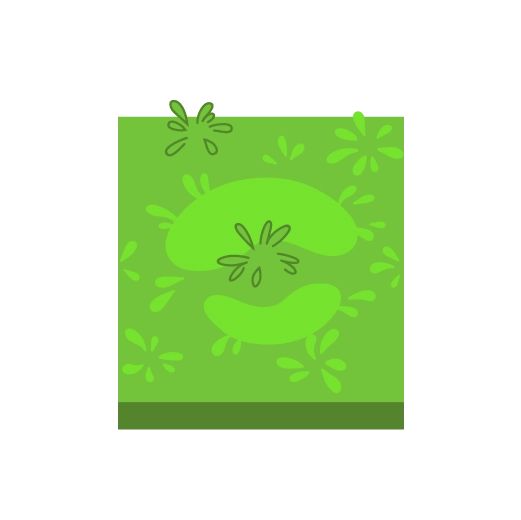 |
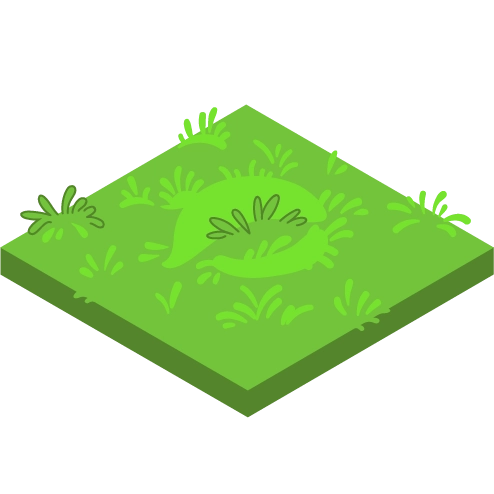 |
|
| Tile.GRASS_2 | grass_2 | G | 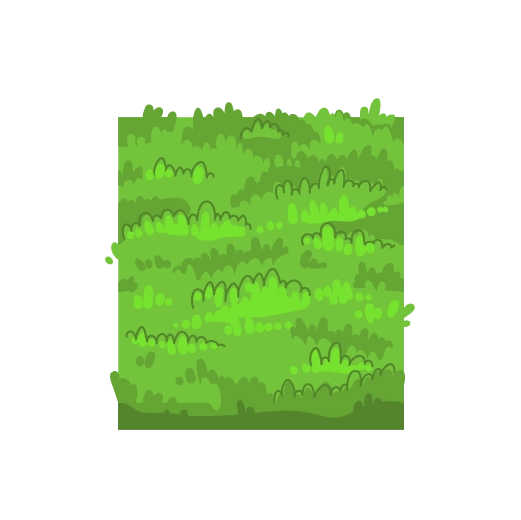 |
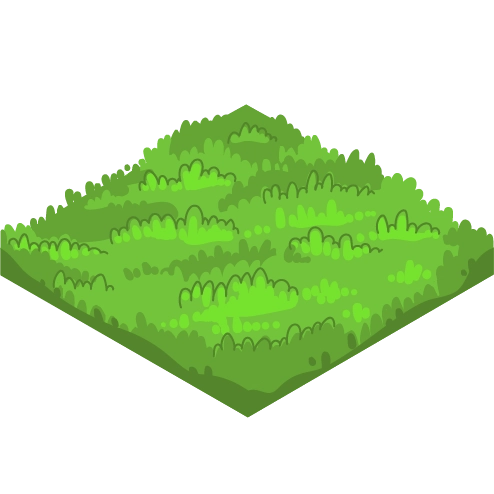 |
|
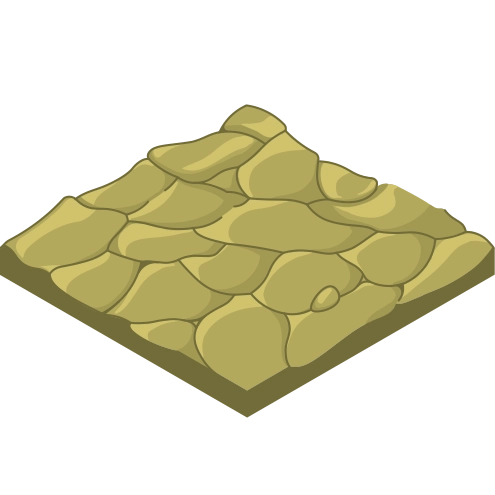
| Tile.GRAVEL | gravel | r | 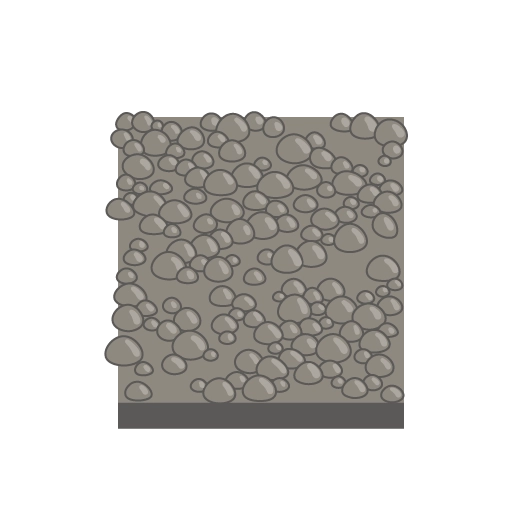 |
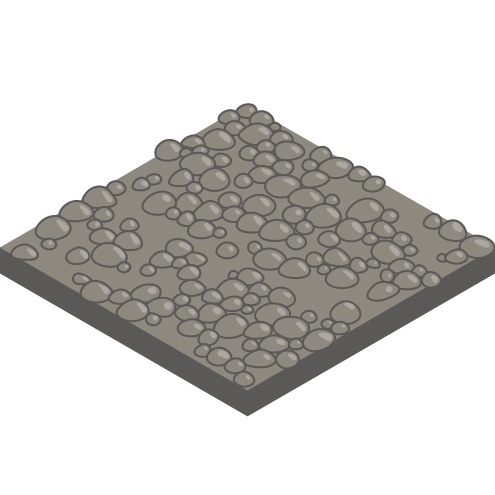 |
|
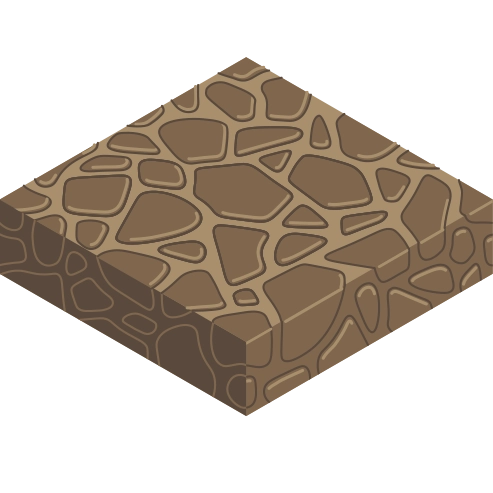
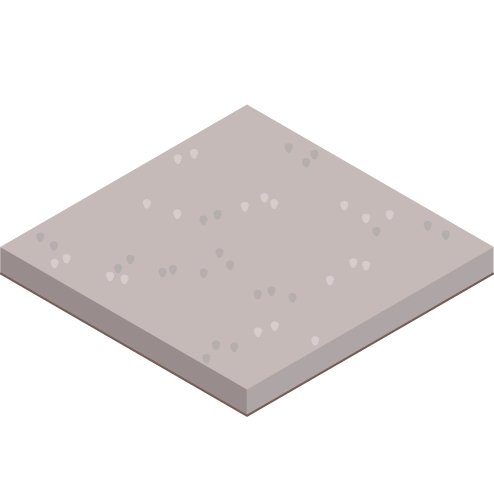
| Tile.MUD | mud | m | 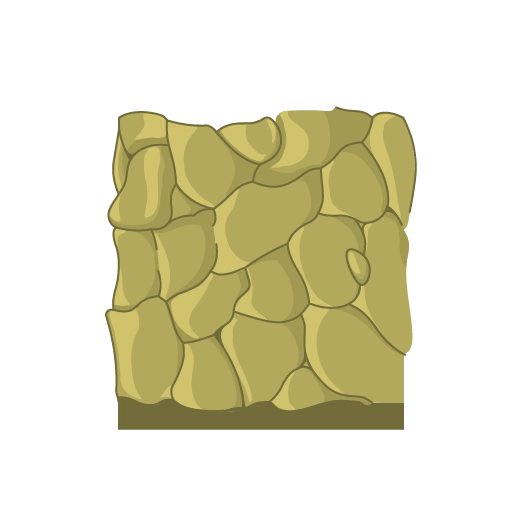 |
 |
|
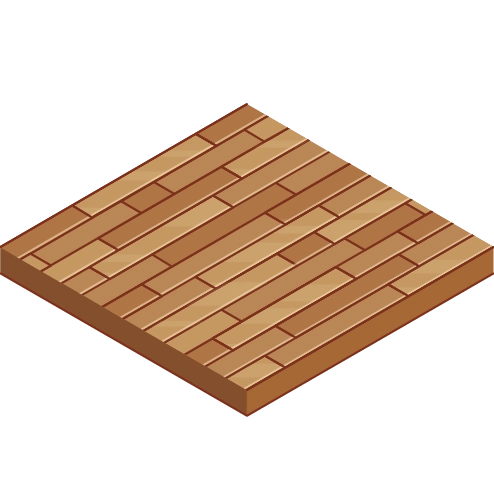
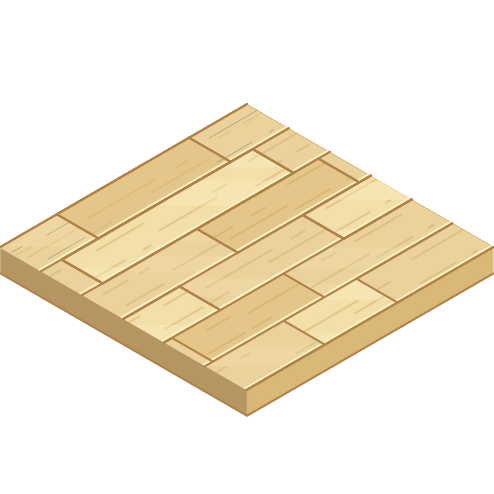
| Tile.PARQUET | parquet | p | 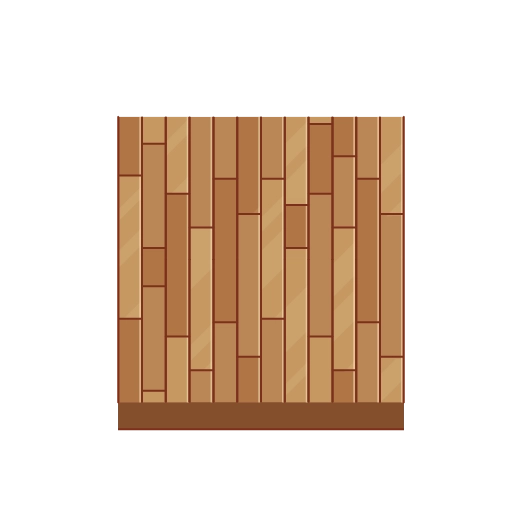 |
 |
|
| Tile.PARQUET_2 | parquet_2 | P | 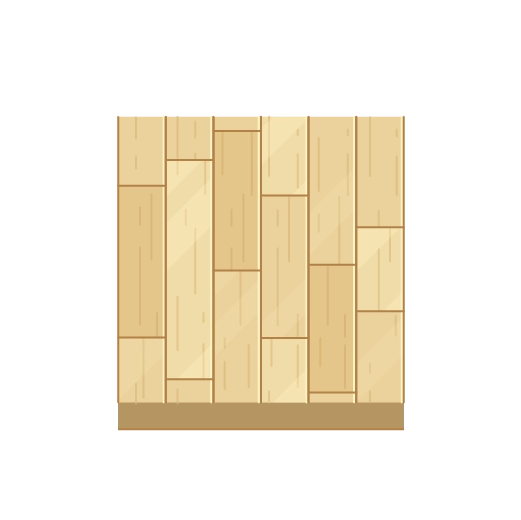 |
 |
|
| Tile.TILES | tiles | t | 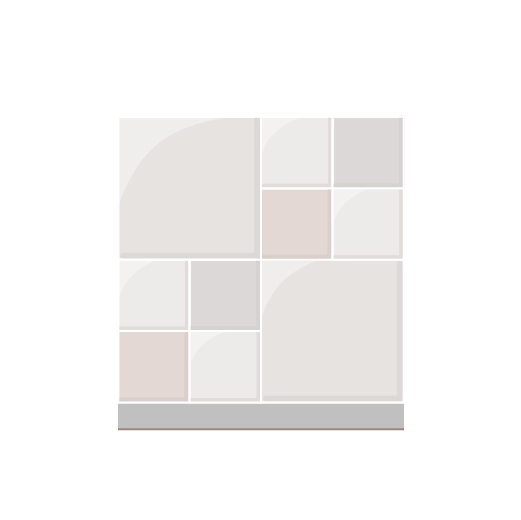 |
 |
|
| Tile.TILES_2 | tiles_2 | T |  |
 |
|
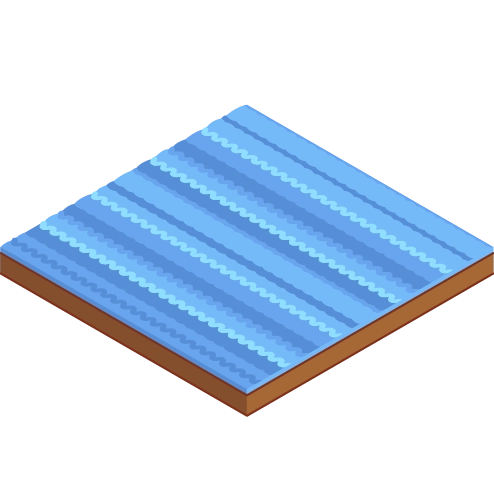
| Tile.WATER | water | w | blocking |  |
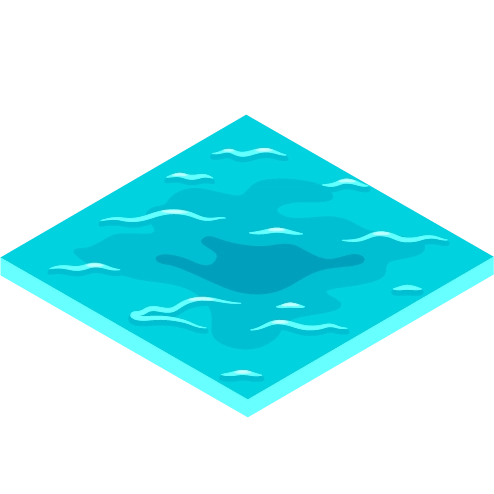 |
| Tile.WATER_2 | water_2 | W | blocking | 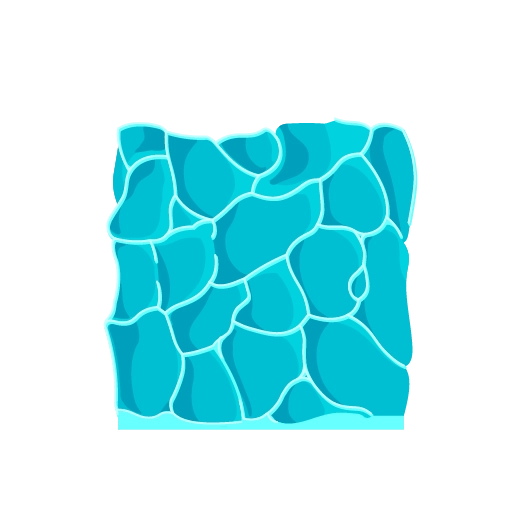 |
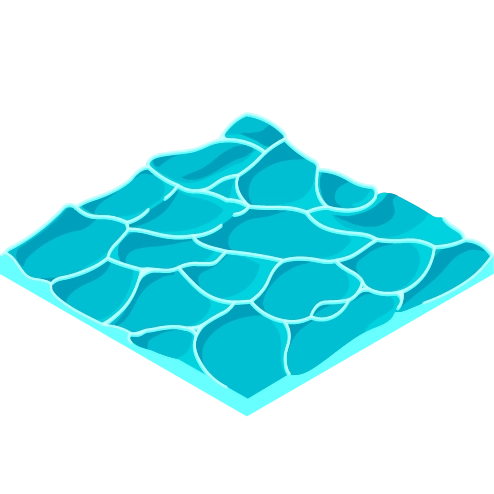 |
| Tile.SPACE_BLUE | space_blue | s | N/A |  |
|
| Tile.SPACE_GREEN | space_green | S | N/A |  |
Tile map
The tile map string is a convenient way of specifying what tiles to use.
Each tile is specified using a code (see table in previous section), use . to mark gaps.
To be able to add line breaks you will have to use triple " for the strings.
Or you can use the special sequence \n instead of adding a line break.
Leading and trailing whitespace is ignored, which allows indenting the tile maps.
Tile string from main section
1 2 3 4 5 6 | |
Tile string using gaps
1 2 3 4 5 6 7 8 9 10 | |
Interactable tiles
Tiles can be interacted with using an on click listener.
The callback function to this listener is given to the WorldSetup.create_world function.
Implementation of on_tile_click callback
1 2 3 4 5 6 7 8 9 10 11 | |
Note
Depending on how the tile was instantiated info["name"] can either be a string or a Tile(StrEnum).
If the tiles are generated using a TileMap the name in TileInfo will be a Tile(StrEnum), but if instantiated using World.add_tile({"name": "tile_name"}) the name in TileInfo till be the string "tile_name".
Error
Interactable tiles do not work well in the isometric view.
You can use ImageActor to circumvent this issue, see Using ImageActor to make interactable tiles for more info.
Walls
It is possible to place walls between tiles in the world, these will block movement between the tiles.
While tiles are identified using a single coordinate, walls are identified using a pair of coordinates.
The pair is the coordinates of the tiles the wall is placed between.
E.g. if the wall should be placed between tiles (0, 1) and (1, 1) then the coordinate pair is ((0, 1), (1, 1)).
Like tiles, the library comes with prefabricated graphical walls and support for plain colored walls. And it is possible to make custom walls.
Walls are added to the world in a similar way as tiles, except there is no equivalent to tile maps.
First way is to include a walls argument to setup.create_world().
This takes the form of a dictionary with coordinate pairs as keys and walls as values:
Add walls using a dictionary
1 2 3 4 | |
Second way is to use the World method:
world.add_wall(coordinate_pair, data)- Where
datadepends on what types of walls you are using -
Add a single prefab wall
1world.add_wall(((0, 1), (1, 1)), {"name": "hedge_2"}) -
Or if using basic walls:
-
Add a single basic wall
1world.add_wall(((1, 0), (1, 1)), {"color": "orange", "height": 0.3})
It is possible to get wall data for a pair of coordinates using world.get_wall_data(coordinate_pair).
You can remove a wall using world.remove_wall(coordinate_pair).
Prefab walls
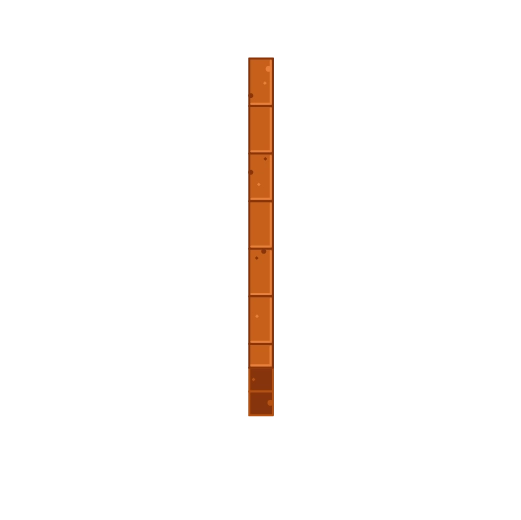
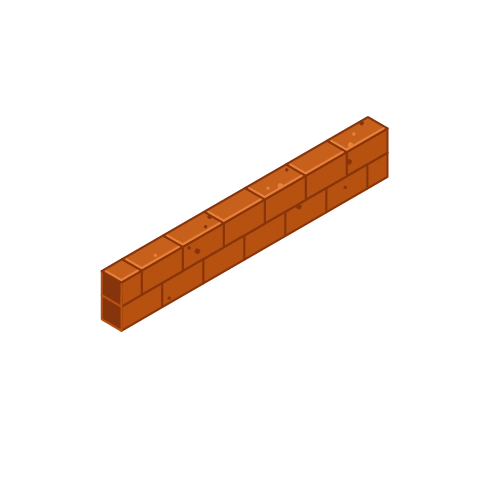
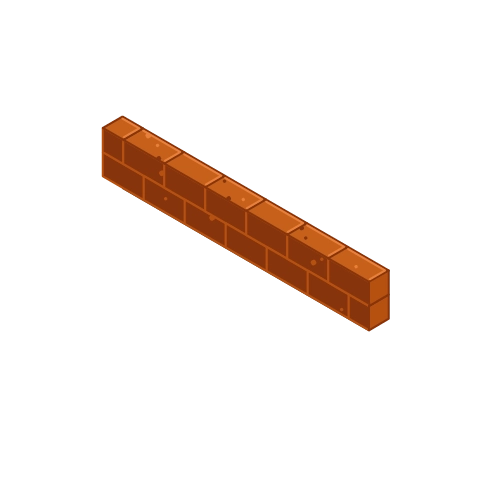
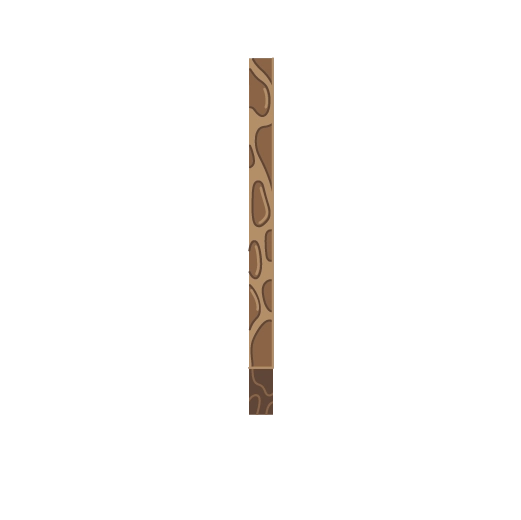
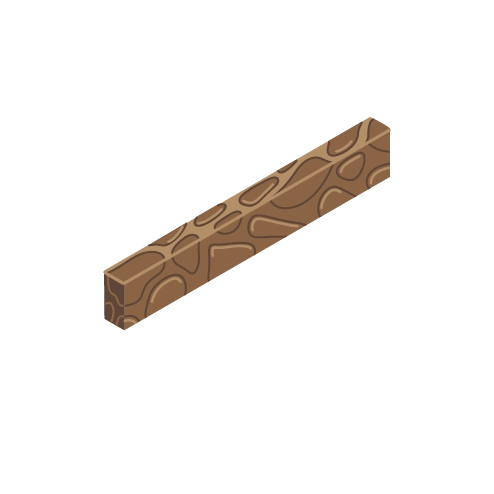
| Constant | Name | Top down, face | Top down, side | Isometric, left | Isometric, right |
|---|---|---|---|---|---|
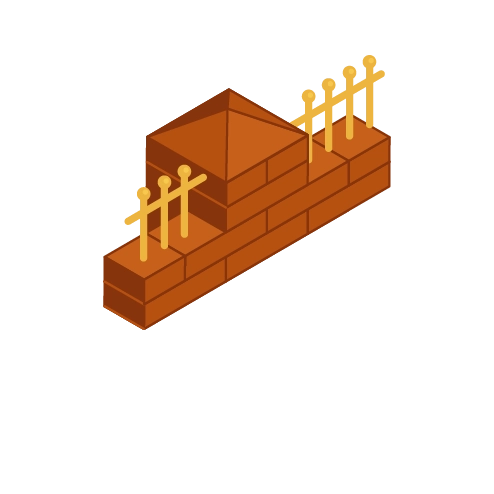
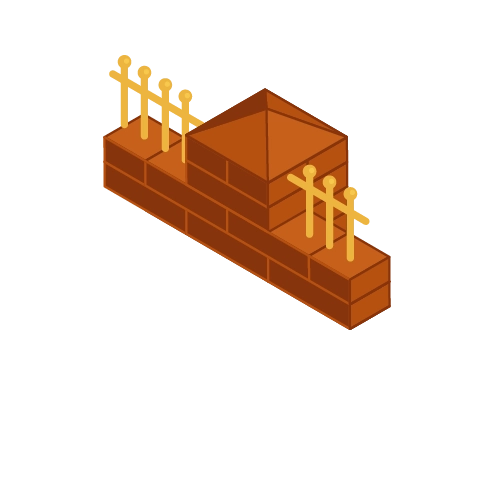
| Wall.BRICK | brick | 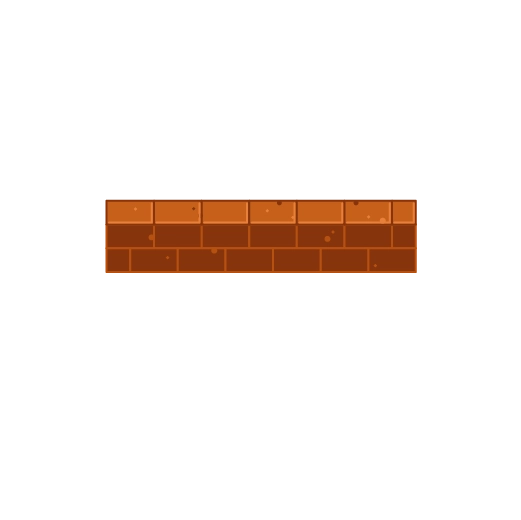 |
 |
 |
 |
| Wall.BRICK_FENCE | brick_fence |  |
 |
 |
 |
| Wall.HEDGE | hedge | 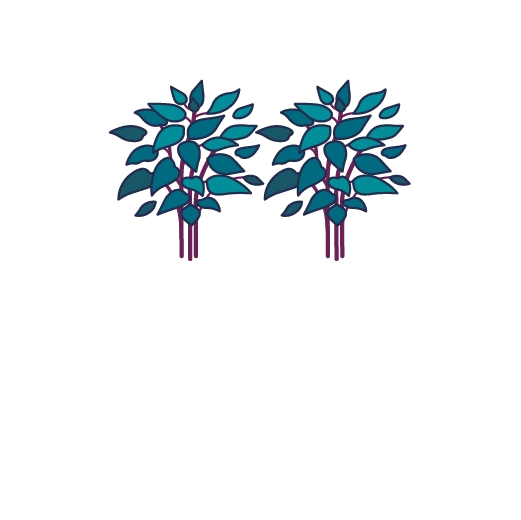 |
 |
 |
 |
| Wall.HEDGE_2 | hedge_2 | 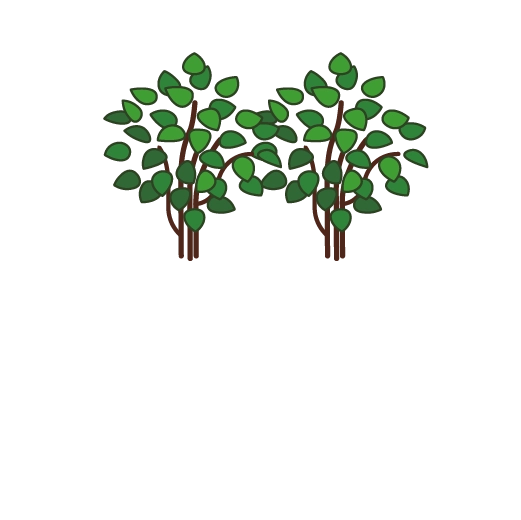 |
 |
 |
 |
| Wall.PICKET_FENCE | picket_fence | 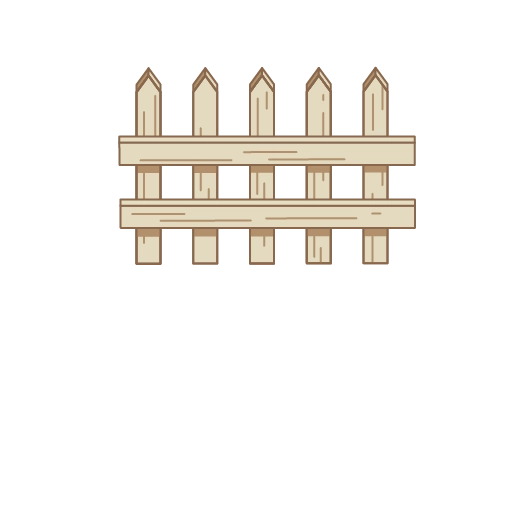 |
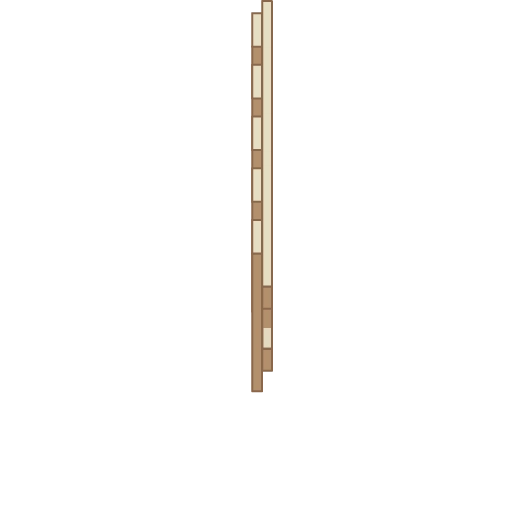 |
 |
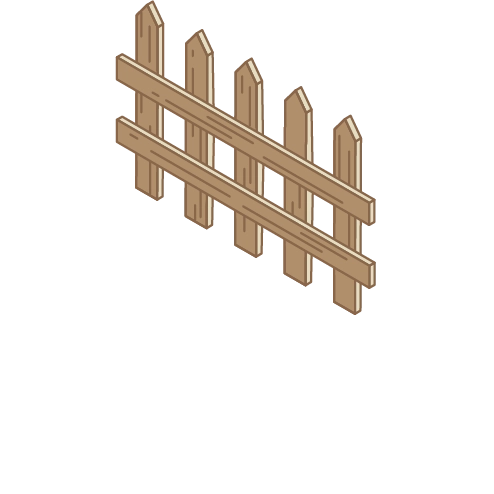 |
| Wall.PLAIN | plain |  |
 |
 |
 |
| Wall.STONE | stone | 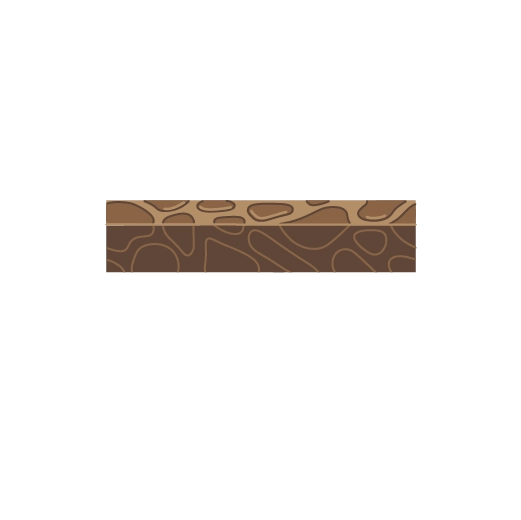 |
 |
 |
 |
Block corners
Due to the geometry of a square grid, you will generally only want to have visual walls between tiles in the cardinal directions.
However, when allowing diagonal movement (e.g. using directions=SQUARE_DIRECTIONS) the characters can move diagonally across the corners.
This will look incorrect and not make intuitive sense for the users.
To solve this you can set block_corners=True in the WorldSetup or World constructors.
This will automatically add invisible walls at the corners next to walls so that movement is blocked as expected.
Note
These walls must be manually removed if needed.
Actors
Everything that is not a tile or a wall is an Actor.
This includes characters, objects, and even props like flowers.
The easiest way to create actors is to use the WorldSetup methods (see following sections), but you can also create them manually if you need more flexibility.
The World class has the following Actor-related methods:
world.add_actor(coordinate, actor)- Places the actor in the world at the given coordinate.
- The actor will be configured to follow the movement rules of the world.
- Multiple actors can be placed on the same coordinate.
world.remove_actor(actor)- Removes the actor from the world.
world.find_actors()- Allows looking up actors based on various criteria, returns a list.
- If given no arguments it returns all actors in the world.
- The following arguments are supported:
-
at-tuple[int, int]- Coordinate (tile) to search at.
-
Find actor at tile
(0, 0)1world.find_actors(at=(0, 0))
-
tags-set[str]- Tags the actor must have.
-
Find actors with tag
"my_tag"1world.find_actors(tags={"my_tag"})
-
tags_match_any-bool- Only requires that one tag in
tagsmatches. -
Find actors with either the
"player"or"enemy"tag1world.find_actors(tags={"player", "enemy"}, tags_match_any=True)
Attributes
All actors have a number of attributes that usually can be set when creating the actor:
actor.coordinate-tuple[int, int] | None- The current coordinate of the actor, or
Noneif the actor is not in a world. actor.offset-tuple[float, float] | None- A visual offset on the current tile, mainly used to add small props (such as rocks and flowers).
actor.tags-set[str]- A set of tags for the actor, which are used in
world.find_actorsor other features. actor.block_tags-set[str]- A set of tags this actor is blocked by. If a space has an actor with any of these tags, then this actor can not move there.
Deletion
All actors have the actor.delete() method with will ask for the actor to be removed from existence, such as the world or a container.
If the actor was rendered manually, this will have no effect.
Movement
This library has a pathing system which enables actors to find the quickest path from point a to point b.
In order for this system to work, you must call world.update_world_graph().
This should be done after finishing setting up the world, and when you have modified any tiles or walls.
Actors have a set of methods related to movement:
actor.can_move(direction)- Returns
Trueif the actor currently can move in the given direction. actor.move(direction)- Moves the actor one step in the given direction.
- Does not require movement to be properly set up.
-
Move
actorone tile to the left1actor.move(Cardinal.LEFT) actor.move(direction, check=True)- Same as above, but includes additional checks (such as blocked check).
- Returns
Falseif the movement failed. - Requires movement to be properly set up.
-
Attempt to move
actorone tile to the left1actor.move(Ordinal.LEFT_DOWN, check=True) actor.possible_moves()- Returns the possible directions this actor can move (currently).
actor.next_move_towards(coordinate)- Returns the current direction the actor should move to get one step closer to the given coordinate along a shortest path.
- Returns
Noneif there is no path to to coordinate or if the actor is already there. actor.move_towards(coordinate)- Moves the actor one step towards the given coordinate along a shortest path.
- Returns
Falseif the movement failed or the actor is already there. -
Move
actorone step towards tile(3, 4)1actor.move_towards((3, 4))
You can have a callback trigger whenever the actor performs a successful movement, by supplying the following argument when creating an actor:
on_move-(ActorMoveEventData) -> None- Callback to call when the actor successfully moves (one step)
- The
ActorMoveEventDataobject has the following attributes: -
source-Actor- The actor that moved
-
direction-tuple[int, int]- The direction the actor moved
-
origin-tuple[int, int]- The coordinate the actor came from
Keyboard Input
This library has a keyboard input system which enables users to use the keyboard to move actors or perform other actions.
When creating an actor you can supply the following arguments:
key_map-dict[str, tuple[int, int] | (ActorKeyboardEventData) -> None] | None- Maps keys to movements and/or callbacks.
on_key_up-(ActorKeyboardEventData) -> None- Callback to call if the key is not found in the key map.
- The
ActorKeyboardEventDataobject has the following attributes: -
source-Actor- The actor that received the key event
-
key-str- The key value
We supply a default keymap for cardinal movement called MOVE_KEY_MAP which supports arrow keys and W A S D movement.
Using default movement for a main character
1 | |
Adding an additional action when pressing P
1 | |
Printing the value when a key is pressed
1 | |
Interaction
This library has an interaction system with allows responding to mouse clicks or can be used with keyboard input or just through code.
Actors have a set of methods related to interaction:
actor.interact()- Invokes the actors
on_interactcallback. actor.interact(agent=agent)- Invokes the actors
on_interactcallback, specifying the interaction agent (must be anActor).
When creating an actor you can supply the following arguments:
on_interact-(ActorInteractEventData) -> None- Callback to call when this actor is interacted with.
interact_on_click-bool- If set to
True,on_interactwill be called when the user clicks on this actor.
The ActorInteractEventData object has the following attributes:
source/target-Actor- The actor that received the key event
agent-Actor | None- The actor that caused the event, set to
Noneif not caused by another actor (such as clicked by user).
Some prefab actors have predefined on_interact callbacks, which can be overridden and are detailed under their respective section.
Characters
Character actors have a few extra features and, most importantly, are animated. The characters will automatically get appropriate walking animations based on movement, and there are a couple of additional actions with dedicated animations.
When you call world.render_changes() the appropriate animation will be chosen.
If you want to perform multiple movements or actions, you have to use canvas.split_step() and call world.render_changes() multiple times.
Like with props, there is a dedicated method to create a character setup.create_character(name, color).
Available characters and colors are listed in the following tables:
| Constant | Name | Description | Top down | Isometric |
|---|---|---|---|---|
| Character.ADA | ada | a girl |  |
 |
| Character.DOUGLAS | douglas | a dog |  |
 |
| Character.KATNISS | katniss | a cat |  |
 |
| Character.RUST | rust | a boy |  |
 |
| Character.SKILLY | skilly | a robot |  |
 |
| Constant | Name |
|---|---|
| CharacterColor.BLACK | black |
| CharacterColor.BLUE | blue |
| CharacterColor.ORANGE | orange |
| CharacterColor.RED | red |
| CharacterColor.WHITE | white |
| CharacterColor.YELLOW | yellow |
Character actors have an additional set of methods with animations:
actor.pick_up()- Interacts with any other actors on the current tile, and plays a picking up animation.
actor.gesture(direction)- Plays a gesturing animation in the given direction.
-
Make
actorgesture facing down1actor.gesture(Cardinal.DOWN) actor.say(text)- Plays a speaking animation and shows a speech bubble with the given text.
-
Make
actorsay "Hello World!"1actor.say("Hello World!")
Additional optional parameters:
font_size- Adjust the font size for the bubble.
theme- See speech bubble documentation.
actor.interact_with(dir=dir)- Interacts with any actors on the tile in the specified direction, and plays a gesturing animation.
Props
Prop actors are simply prefabricated actors that can be placed in the world. It is up to you to decide how to use them.
Props are created using setup.create_prop(name) which also accepts various Actor and Image attributes.
The available prefab props are listed in the following table:
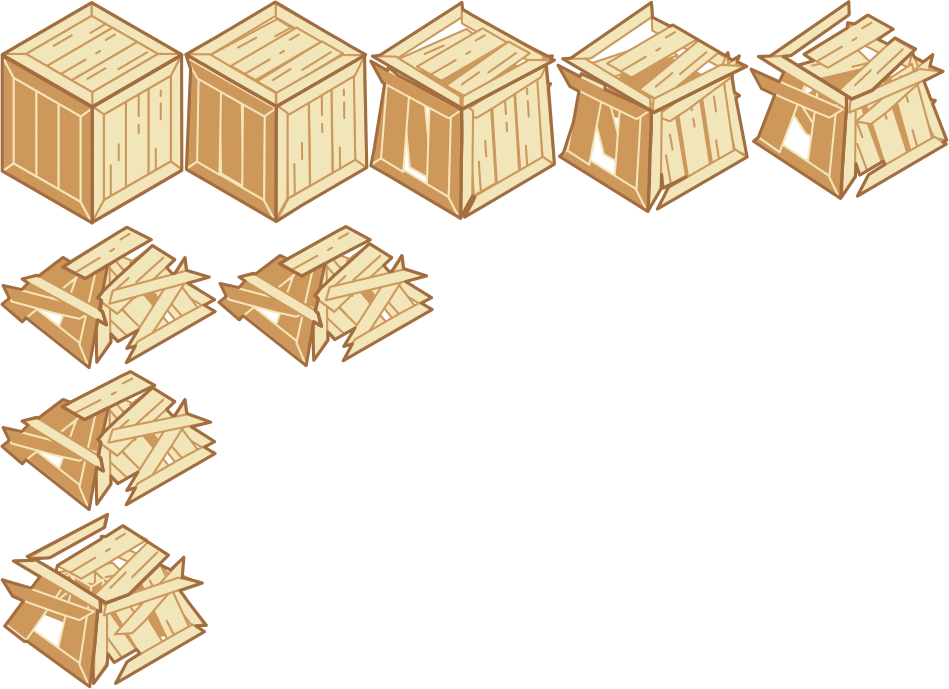
| Constant | Name | Notes | Top down | Isometric |
|---|---|---|---|---|
| Container.BARREL | barrel | container | 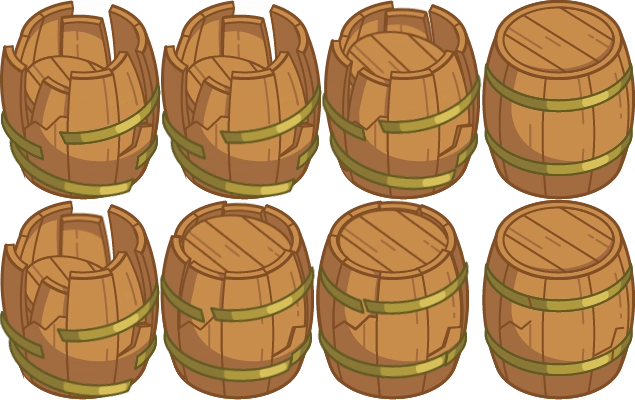 |
|
| Container.BARREL_SIDE | barrel_side | container | 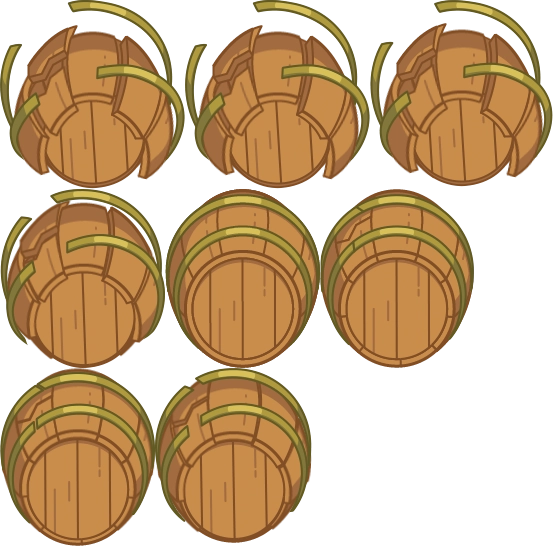 |
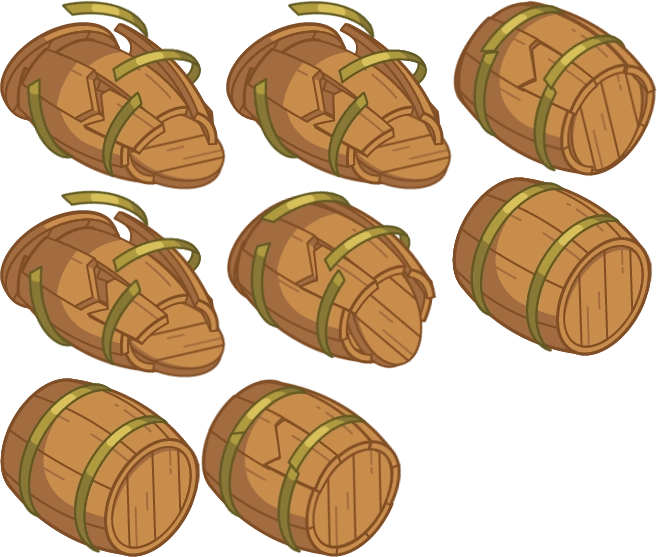 |
| Container.CHEST | chest | container | 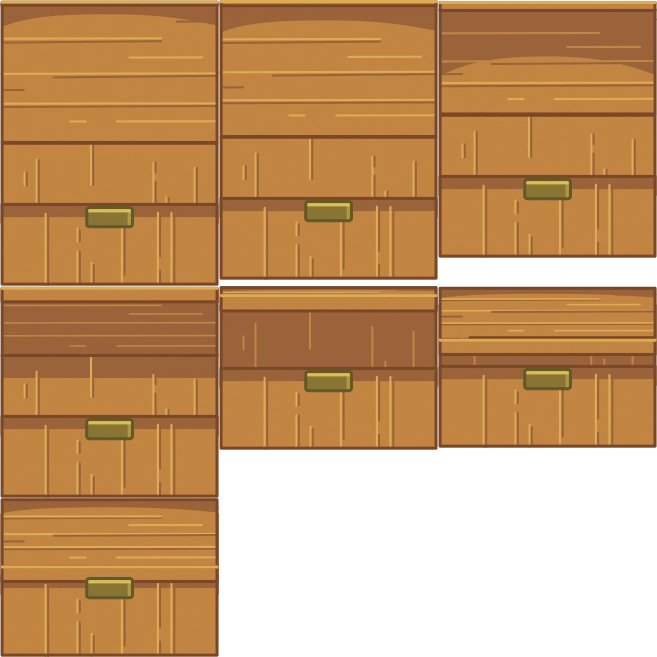 |
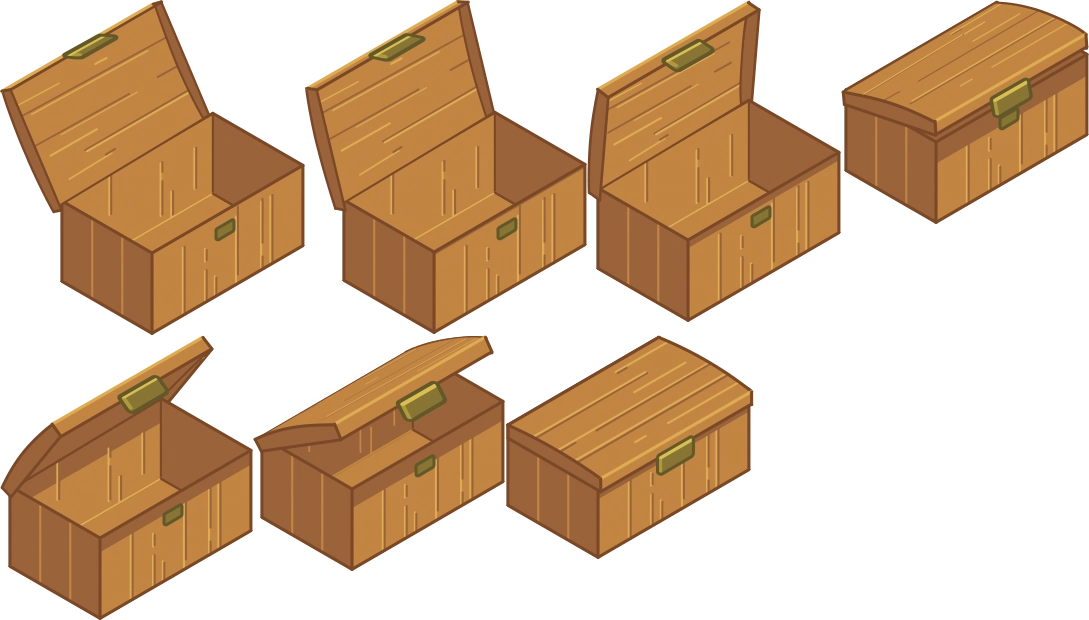 |
| Container.CHEST_BAND | chest_band | container | 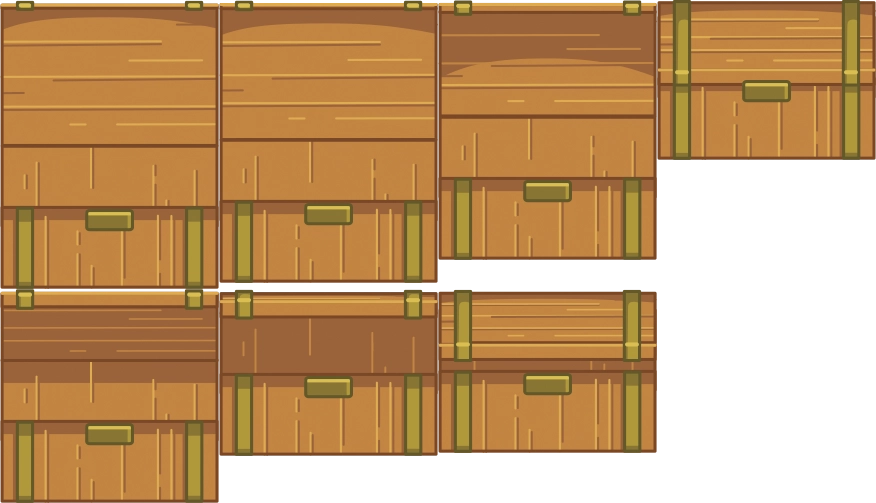 |
 |
| Container.CRATE | crate | container | 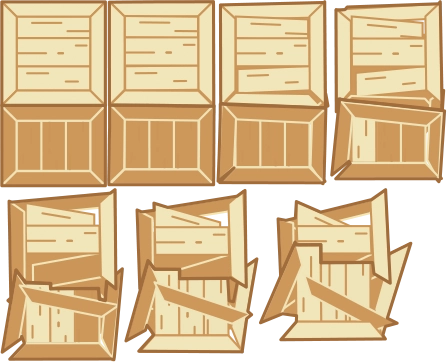 |
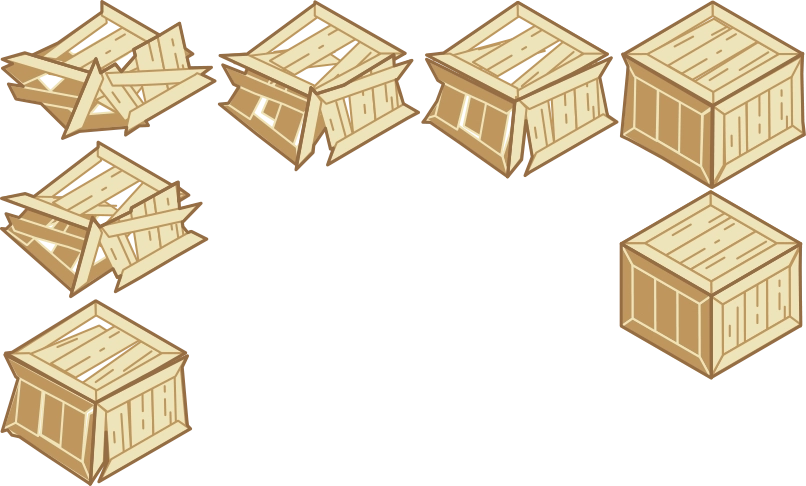 |
| Container.CRATE_TALL | crate_tall | container | 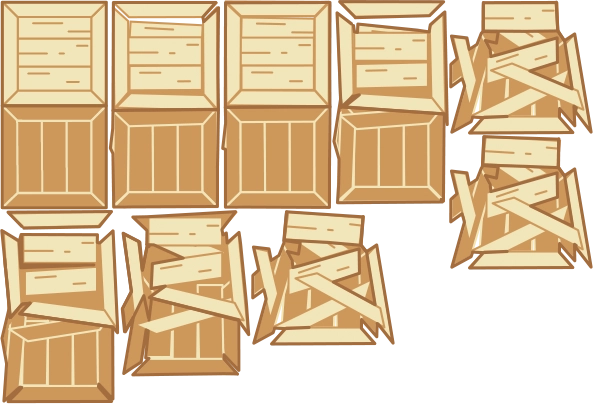 |
 |
| Item.COIN | coin | item |  |
|
| Item.HEART | heart | item | 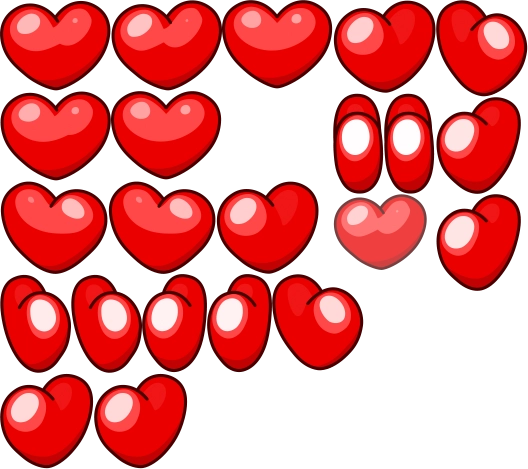 |
|
| Item.KEY | key | item | 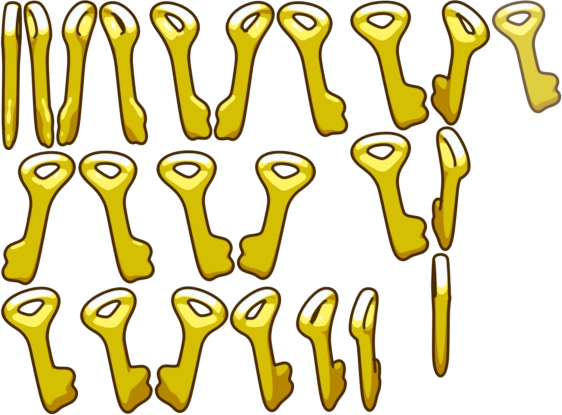 |
|
| Item.STAR | star | item | 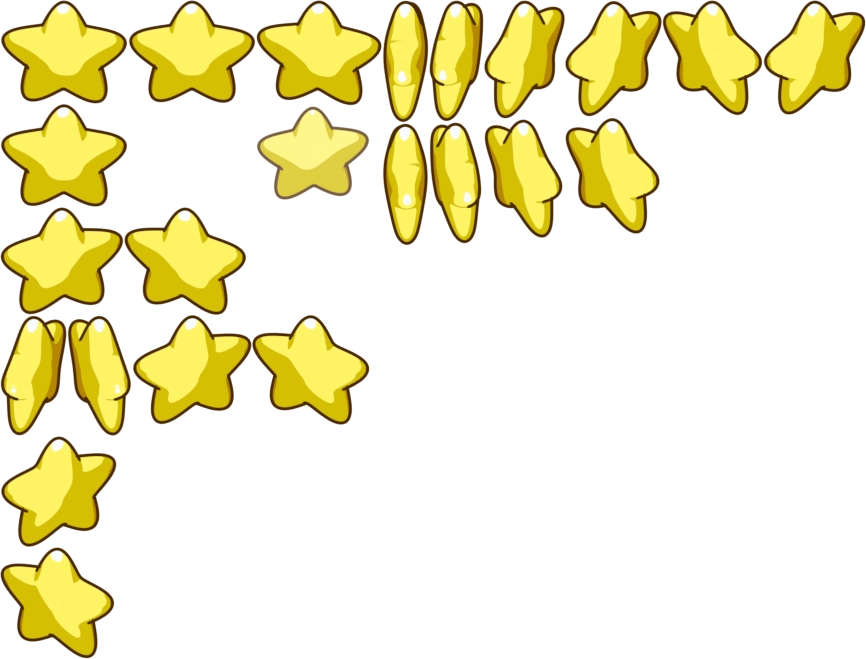 |
|
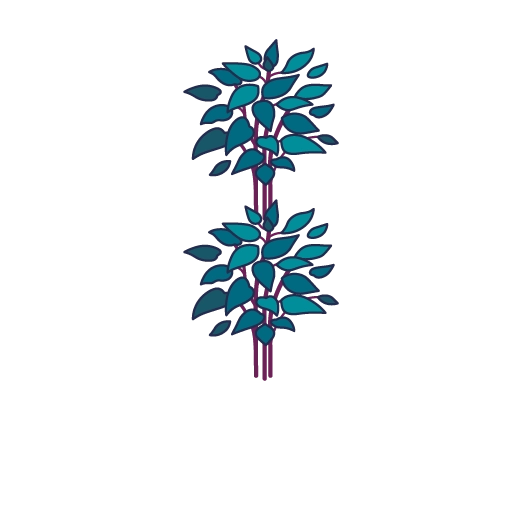
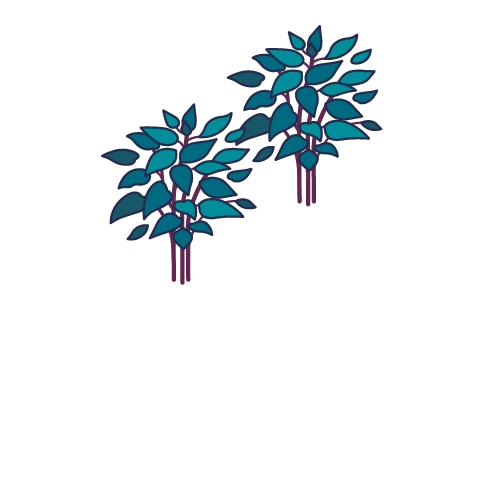
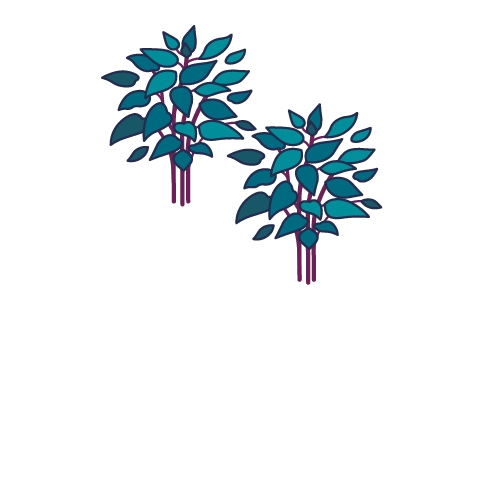
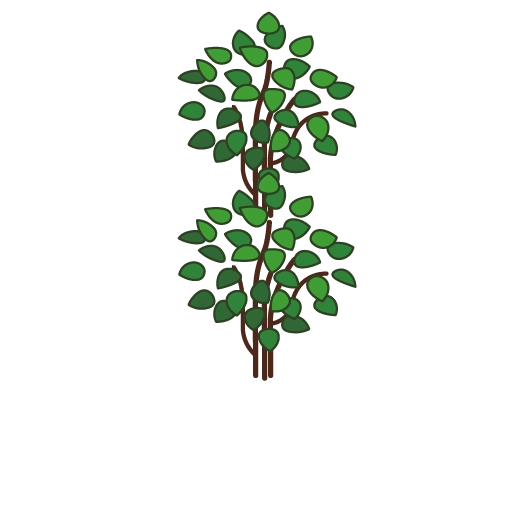
| Prop.BUSH | bush | 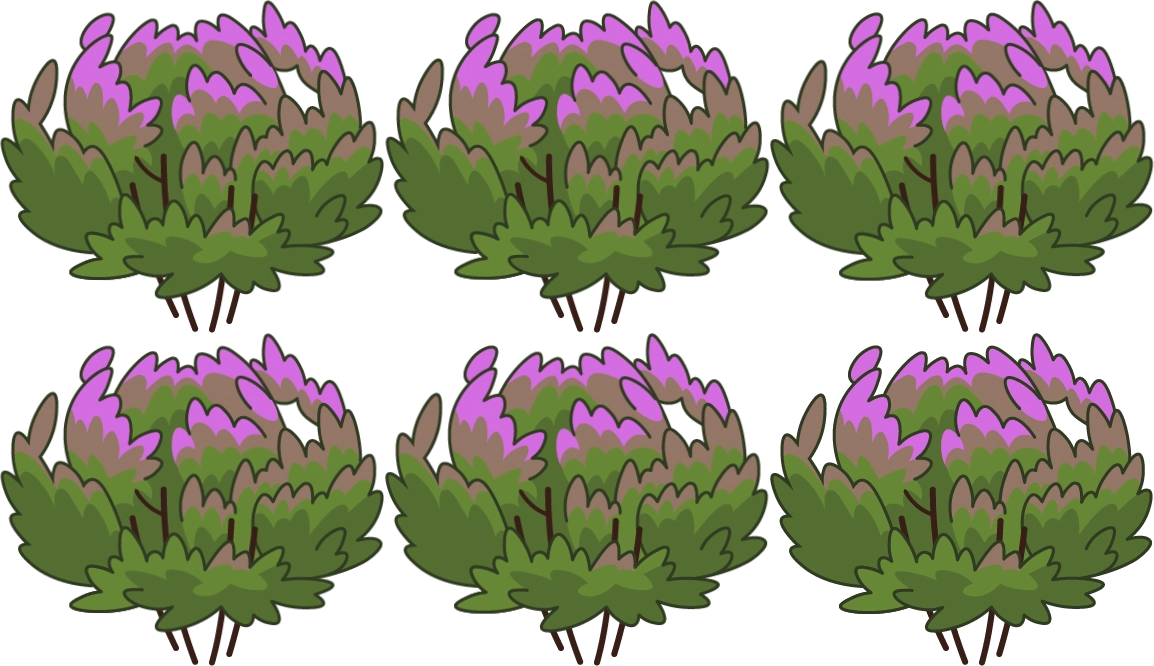 |
|
|
| Prop.FLOWER | flower | 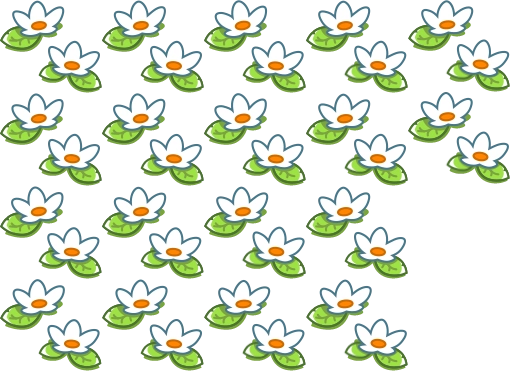 |
|
|
| Prop.FLOWER_2 | flower_2 | 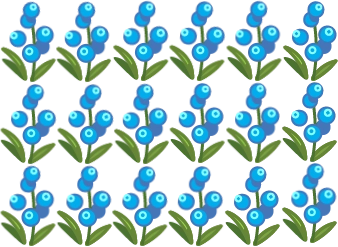 |
|
|
| Prop.STONE | stone |  |
|
|
| Prop.STONE_2 | stone_2 |  |
|
|
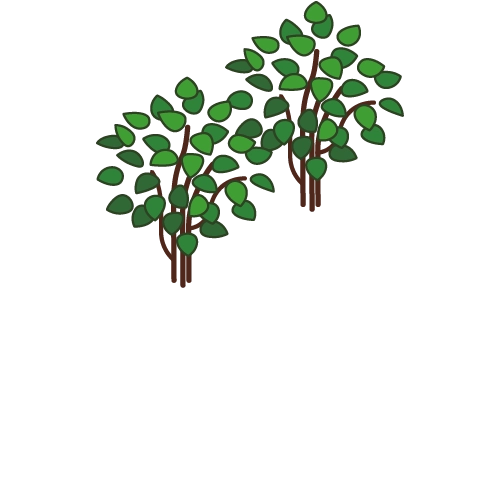
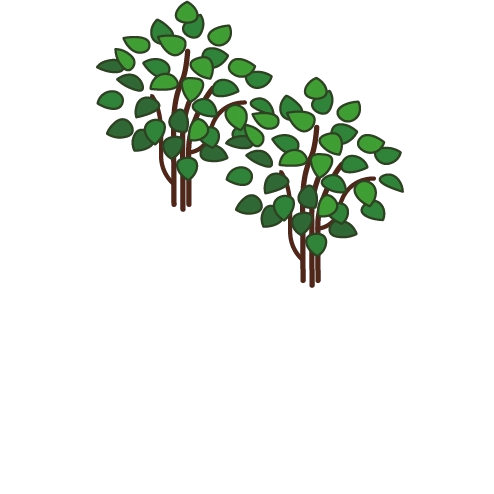
| Prop.TREE | tree | 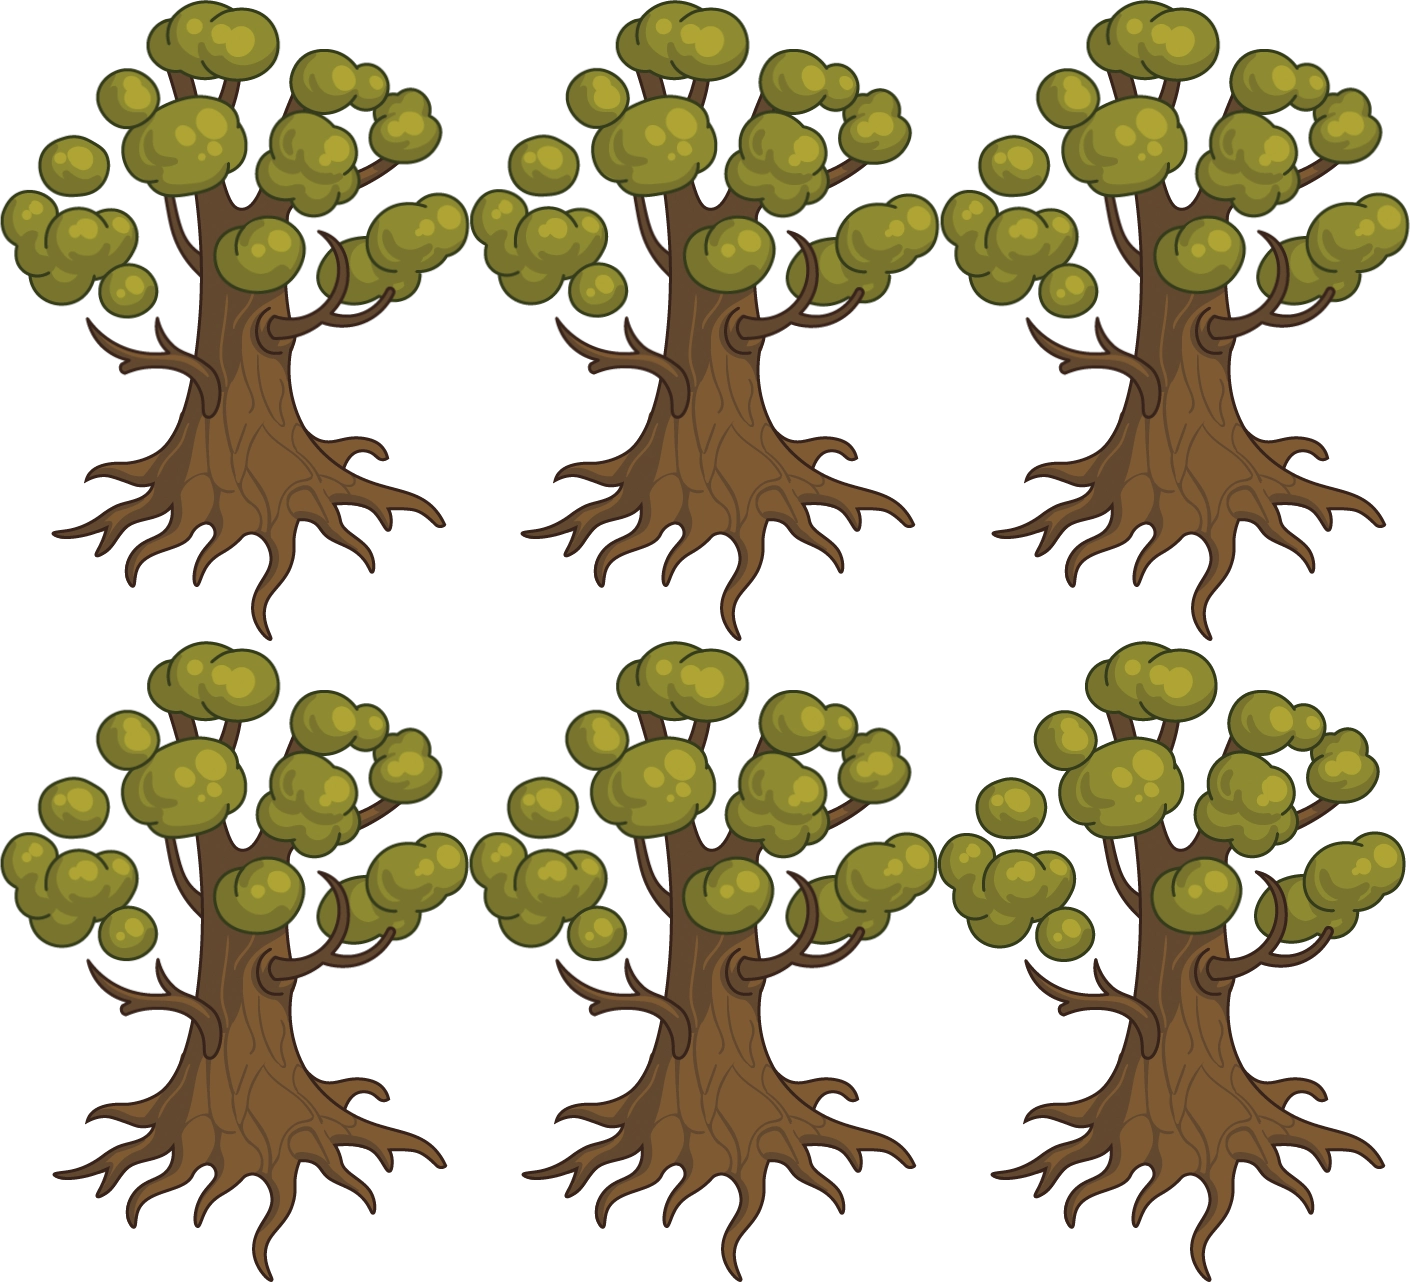 |
|
|
| Prop.TREE_STONES | tree_stones |  |
|
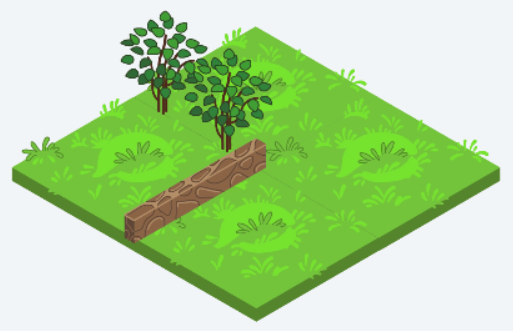
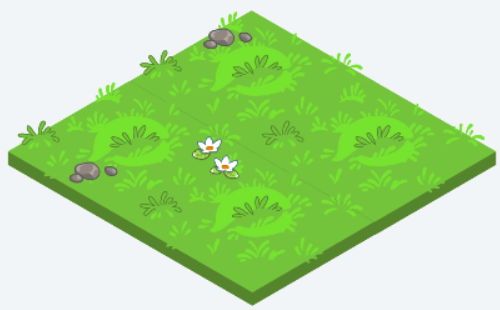
Smaller props such as flowers and stones can preferably be added as cosmetic scenary to world, with an offset from the center. Here is an example where a couple of stones and flowers are added:
Add a couple of stones and flowers to the world
1 2 3 4 5 6 7 | |
Bigger props should generally be used without an offset to avoid intersecting walls and characters. You would generally also want to give the bigger props a tag that can be used to block movement.
Add a prop with a tag to the world
1 | |
The props marked as container or item can be used as normal props, but if you want to have them be opened/broken, then you should take a look at the containers section or items section.
Containers
Container actors are created using the method setup.create_container(name) with one of the names marked as Container in the props table.
The containers feature a very lightweight inventory system where ItemActor objects can be "stored" inside the container.
When the container is opened, the first of these items will be displayed on/inside the container.
By default, when interacting with the container it will (1) be opened if closed, or (2) the first contained item will be interacted with (usually leading to it being removed, depending on the item itself).
Containers have the following extra attributes:
actor.items-list[ItemActor]- List of items contained within the container, readonly
actor.opened-bool- Whether the container currently is opened/broken or not, readonly
And the following extra methods:
actor.add_item(item)- Adds the given item to the container (at the end)
actor.remove_item(item)- Removes the given item from the container
actor.open()- Opens/breaks the container
actor.close()- Closes/un-breaks the container
The containers have animations that play when they open/break, and then they will keep the open/broken appearance. They can then be closed, but there currently are no animations playing for this action.
Items
Item actors are created using the method setup.create_item(name) with one of the names marked as Item in the props table.
By default, when interacting with an item any on_pick_up callbacks will be called and then the item will be deleted.
If the on_pick_up callback returns True, then the item will not be deleted.
This default behaviour can be overridden by setting on_interact manually, however, it is usually better to just set on_pick_up.
Items have the following extra attributes:
actor.hidden-bool- Whether the item currently is hidden or not, readonly
And the following extra methods:
actor.reveal()- Reveals the item
actor.hide()- Hides the item
actor.pick_up()- Manually invoke the items
on_pick_upcallback, with the same behaviour as default interaction
The items have animations that play when they are revealed. They can then be hidden, but there currently are no animations playing for this action.
Debugging
The world element has a subtle menu on the top left which can be used to activate various visualizations:
(x, y)- coordinates- Shows coordinates for all tiles, which can greatly help when placing actors or writing solutions.
- Always available.
nav- navigation- Visualization of the pathfinding graph, does not take into account blocking tags.
- Requires debug mode.
Custom Prefabs
It is possible to extend the existing list of prefabs with your own additions. This is not trivial and only recommended if you are well versed in the Freecode platform and have some image editing experience (you will have to provide your own images in a particular format).
Although you can create your own prefab manager, you would generally just register them with the DEFAULT_PREFAB_MANAGER which is used by default.
Just keep in mind that it is better to add new entries rather than overriding existing ones.
There is no way to add new values to the enums, so you will have to only use the strings directly (or define your own string enum, or use constants).
For each prefab type, the manager has a corresponding .register_s(entry_1, entry_2, ...) method (e.g. .register_items(...)).
It can be used to register one or more prefab entries.
The entries are instances of the corresponding <Type>Entry classes for the prefab types (e.g. ItemEntry).
Note
If you register any prop variant (such as container or item) a corresponding prop entry will automatically be created for you.
The entry instance allows you to tweak a number of parameters which will be used to determine the image names, positioning, and more. The following subsections detail what parameters exist and what they do, as well as what image names are expected.
Note
Images must be provided in WebP, which should be supported by most modern image editors.
Note
You need to import DEFAULT_PREFAB_MANAGER and any <Type>Entry classes you plan on using from lib.world.prefab.
TileEntry
name-str- The name to be used to refer to this prefab. Required and must be unique within the prefab category (will otherwise override the others).
image-str | None(defaultNone)- An alternative name to use for determining the image name.
animated-bool(defaultFalse)- Whether the prefab is animated or not. Animations requires an additional sprite sheet json file.
code-str | None(defaultNone)- A code to be used in tile maps. Must be exactly one character.
color-str(default"magenta")- The color to use when
basicmode is enabled. blocked-bool(defaultFalse)- Whether the tile should be considered blocked for movement.
Tile images are named <perspective>_tile_<name>.webp.
Add a custom top down grass tile
Upload an image called td_tile_grass.webp to the Freecode creator, then add the tile like this:
1 2 | |
Note
It is important to get the right size, aspect ratio, etc when making a tile image. This can be difficult, especially when working in an isometric view.
The easiest way to ensure that the tile image will work properly is to use a prefab tile image as a base and draw the custom tile on top of it.
WallEntry
name-str- The name to be used to refer to this prefab. Required and must be unique within the prefab category (will otherwise override the others).
image-str | None(defaultNone)- An alternative name to use for determining the image name.
animated-bool(defaultFalse)- Whether the prefab is animated or not. Animations requires an additional sprite sheet json file.
color-str(default"magenta")- The color to use when
basicmode is enabled. height-float(default0.5)- The height of the wall when
basicmode is enabled.
Wall images are named <perspective>_wall_<name>_<direction>.webp.
Directions for topdown are face and side, and directions for isometric are left and right.
Add a custom isometric stone wall
Upload two images called iso_wall_stone_left.webp and iso_wall_stone_right.webp to the Freecode creator, then add the wall like this:
1 2 | |
Note
While not as important as with tiles, it can still be nice to get a perfectly aligned wall. Just as with tiles, it is easiest to ensure this by using a prefab wall image as a base and draw the custom wall image on top of it.
CharacterEntry
name-str- The name to be used to refer to this prefab. Required and must be unique within the prefab category (will otherwise override the others).
image-str | None(defaultNone)- An alternative name to use for determining the image name.
colors-set[str](defaultset(CharacterColor))- The set of supported colors for the character.
size-tuple[float, float](default(1, 1))- The size of the prefab, in world units.
center_offset-tuple[float, float](default(0, 0))- Offset from the center of the image to the center of the prefab footprint.
face_offset-tuple[float, float](default(0, 0))- Offset from the center of the image to the center of the character face.
Character sprite sheets are named <perspective>_<name>_<color>_<action>.webp.
See Create Sprite Sheet for instructions for creating sprite sheets.
Color options are: black, blue, orange, red, white, and yellow.
Action options are: gesture, gesture_away, idling, idling_away, picking, walking, and walking_away.
Add a custom topdown character called Kim associated with the color blue
Upload all the necessary sprite sheets on the pattern td_kim_blue_<action>.webp to the Freecode creator, then add the character like this:
1 2 3 | |
PropEntry
name-str- The name to be used to refer to this prefab. Required and must be unique within the prefab category (will otherwise override the others).
image-str | None(defaultNone)- An alternative name to use for determining the image name.
animated-bool(defaultFalse)- Whether the prefab is animated or not. Animations requires an additional sprite sheet json file.
size-tuple[float, float] | dict[str, tuple[float, float]](default(1, 1))- The size of the prefab, in world units.
- Can give a dictionary to have different values based on perspective.
center_offset-tuple[float, float] | dict[str, tuple[float, float]](default(0, 0))- Offset from the center of the image to the center of the prefab footprint.
- Can give a dictionary to have different values based on perspective.
prespective-str | None(defaultNone)- If set, override with the given perspective when determining the image name.
Prop images are named <perspective>_prop_<name>.webp.
Add a custom isometric coffee prop
Upload an image called iso_prop_coffee.webp to the Freecode creator, then add the prop like this:
1 2 | |
Note
The perspective must match if a particular perspective was forced.
ContainerEntry
Same fields as PropEntry, with the following additions:
item_offset-tuple[float, float] | dict[str, tuple[float, float]](default(0, 0))- Offset from the center of the footprint of the container to the center of the footprint of the showcased item.
- Can give a dictionary to have different values based on perspective.
Containers follow the same naming as props, except that the base image should be the open animation.
An image suffixed with _closed will be used for the default state and an image suffixed with _opened will be used for the opened state.
ItemEntry
Same fields as PropEntry.
Items follow the same naming as props. An image suffixed with _spawn will be used for the reveal animation.
ImageActor
While ImageActor is not a custom prefab, it can sometimes be used as one.
As the name implies it is an Actor, that takes the name of an uploaded or built in image or sprite with the corresponding parameter name image or sprite.
Additionally it has the following optional parameters:
size-tuple[float, float](default(1, 1))- The size of the
ImageActor, in world units. animation-str(default"default")- The name of the animation to be used for the sprite, if applicable.
image_offset-tuple[float, float](default(0, 0))- Offset from the center of the image/sprite to the center of the
ImageActor's footprint. flipped-bool(defaultFalse)- Determines if the image/sprite should be flipped.
Using ImageActor to make interactable tiles
You can use ImageActor to make a button that can be placed on a tile in the World.
This is useful if you want to highlight the tiles that a player can interact with in interact mode, or if you are using the isometric view where interactable tile do not work.
This example will use ButtonActor, which is a child of ImageActor, see code below.
Code for our ButtonActor
1 2 3 4 5 6 7 8 9 10 11 12 13 14 15 16 17 18 19 | |
To get this example to work you will also need to upload an image to act as the button.
This image does not need to be visible for the ButtonActor to work, you can set self.default_opacity = 0, but you need a picture.
It is recommended that the image is as tight as possible, and a bit smaller than a tile, to ensure that there is as little overlap between the buttons as possible.
The next step is to add ButtonActors to all tiles that you want the player to interact with.
Adding ButtonActor to some tiles
1 2 3 4 5 6 | |
That is all you need to do to use an ImageActor to make interactable tiles!
Templates
The following template is a bit rough around the edges and might not always showcase best practices.
This template showcases how the world library can be used together with the GameChallenge skeleton:
1 2 3 4 5 6 7 8 9 10 11 12 13 14 15 16 17 18 19 20 21 22 23 24 25 26 27 28 29 30 31 32 33 34 35 36 37 38 39 40 41 42 43 44 45 46 47 48 49 50 51 52 53 54 55 56 57 58 59 60 61 62 63 64 65 66 67 68 69 70 71 72 73 74 75 76 77 78 79 80 81 82 83 84 85 86 87 88 89 90 91 92 93 94 95 96 97 98 99 100 101 102 103 104 105 106 107 108 109 110 111 112 113 114 115 116 117 118 119 120 121 122 123 124 125 126 127 128 129 130 131 132 133 134 135 136 137 138 139 140 141 142 143 144 145 146 147 148 149 150 151 152 153 154 155 156 157 158 159 160 161 162 163 164 165 166 167 168 169 170 171 172 173 174 175 176 177 178 179 180 181 182 183 184 185 | |